XP on Kubuntu via VMware via VNC
I finally got around to doing something today that I had been meaning to do since I got Kubuntu installed on my home desktop, namely, setting up a virtual machine running Windows XP so I can perform DVD encoding/editing/authoring. I’m a relative novice when it comes to these techniques and I haven’t put enough effort into finding the equivalent native Linux applications, so it is a case of better the devil you know for the foreseeable future. If I ever gather any significant skills in Linux application development I would love to create ports of the almighty VobBlanker and the venerable IfoEdit. As for DVD ReBuilder Pro and Cinema Craft Encoder, one step at a time, eh?
Getting VMware Workstation installed didn’t prove as difficult as I thought it would be, the only things I had to do was get the kernel header files, GCC and associated tools and it was more or less plain sailing from there, just requiring me to run the vmware-install.pl and /usr/bin/vmware-config.pl scripts. Cheers Ubuntu Forums!
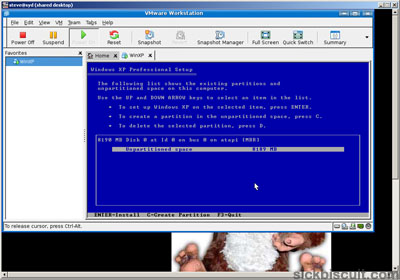
I fired up VMware and created a new virtual machine and allocated 256MB of memory and 8GB of disk space; I also gave it access to the drive containing my software archives which I had to do via VMware’s shared folders feature instead of just pointing it at the drive itself, but this might just be because I didn’t launch VMware as root. The only thing left was to get the system to use an .iso image as the virtual machine’s CD-ROM. I powered on the machine and it booted off the cd image with no difficulties; I was eventually prompted to select my installation partition which I choose to format as NTFS:
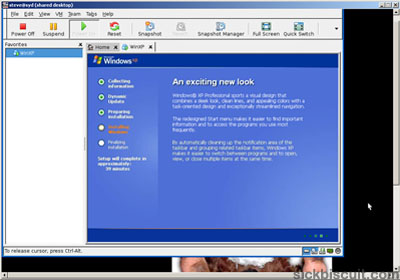
I got the installation process underway and when I next checked back the text-mode stuff had finished and the graphical installer was in action:
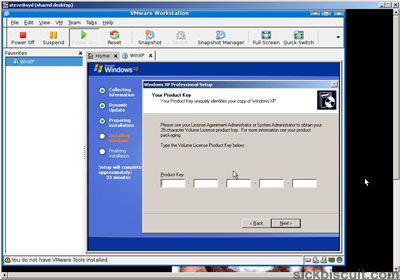
The installation seemed to stall at this point and when I came back from my coffee break it was still declaring that the process was 37 minutes from completion. I was regretting only giving the vm 256MB of memory, but I restarted it and the installation resumed itself ok. Entering the product key was the next major step:
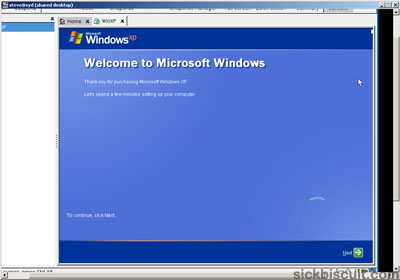
I clicked through all the device driver dialogs, set the localisation info and was greeted by a near ready windows:
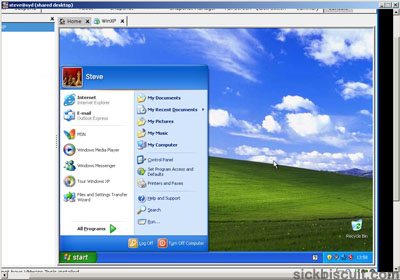
Setting up networking and Windows Updates were the last couple of things to do before the installation was complete and I was presented with a virginal desktop and start menu:
If you look closely you might be able to see the Windows Genuine Advantage tray icon, needless to say it was swiftly dealt with. Windows Update grabbed all patches issued since September (the rest were handily slip-streamed into the installation CD,) the machine rebooted itself and I promptly took a snapshot of it’s state in case I need to roll back to a pristine copy of XP. The only thing left hanging is accessing the shared folder I setup, but that is a problem for another day.
The world of .IFO, .VOB, .BUP files and even the likes of Photoshop is now back within my reach and what I got a kick out of was that I setup an XP virtual machine on my home Linux desktop from my XP workstation in the office, Russian Doll style. Nice.